Overview
In this tutorial we will walk through how to use Apache Solr with Hadoop to index and search data stored on HDFS. It’s not meant as a general introduction to Solr.
After working through this tutorial you will have Solr running on your Hortonworks Sandbox. You will also have a solrconfig and a schema which you can easily adapt to your own use cases. Also you will learn how to use Hadoop MapReduce to index files.
Prerequisites
Remarks: I was using VMware’s Fusion to run Sandbox. If you choose Virtualbox things should look the same beside the fact your VM will not have it’s own IP address but rather Solr listening on 127.0.0.1. For convenience I added sandbox as a host to my /etc/hosts file on my Mac. Apache Solr 4.7.2 is the officially by Hortonworks supported version as I’m writing this (May 2014).
Steps
Let’s get it started: Power-up the sandbox with at least 4GB main memory.
    ssh root@sandbox (Passwort: hadoop)
    ./start_ambari.sh
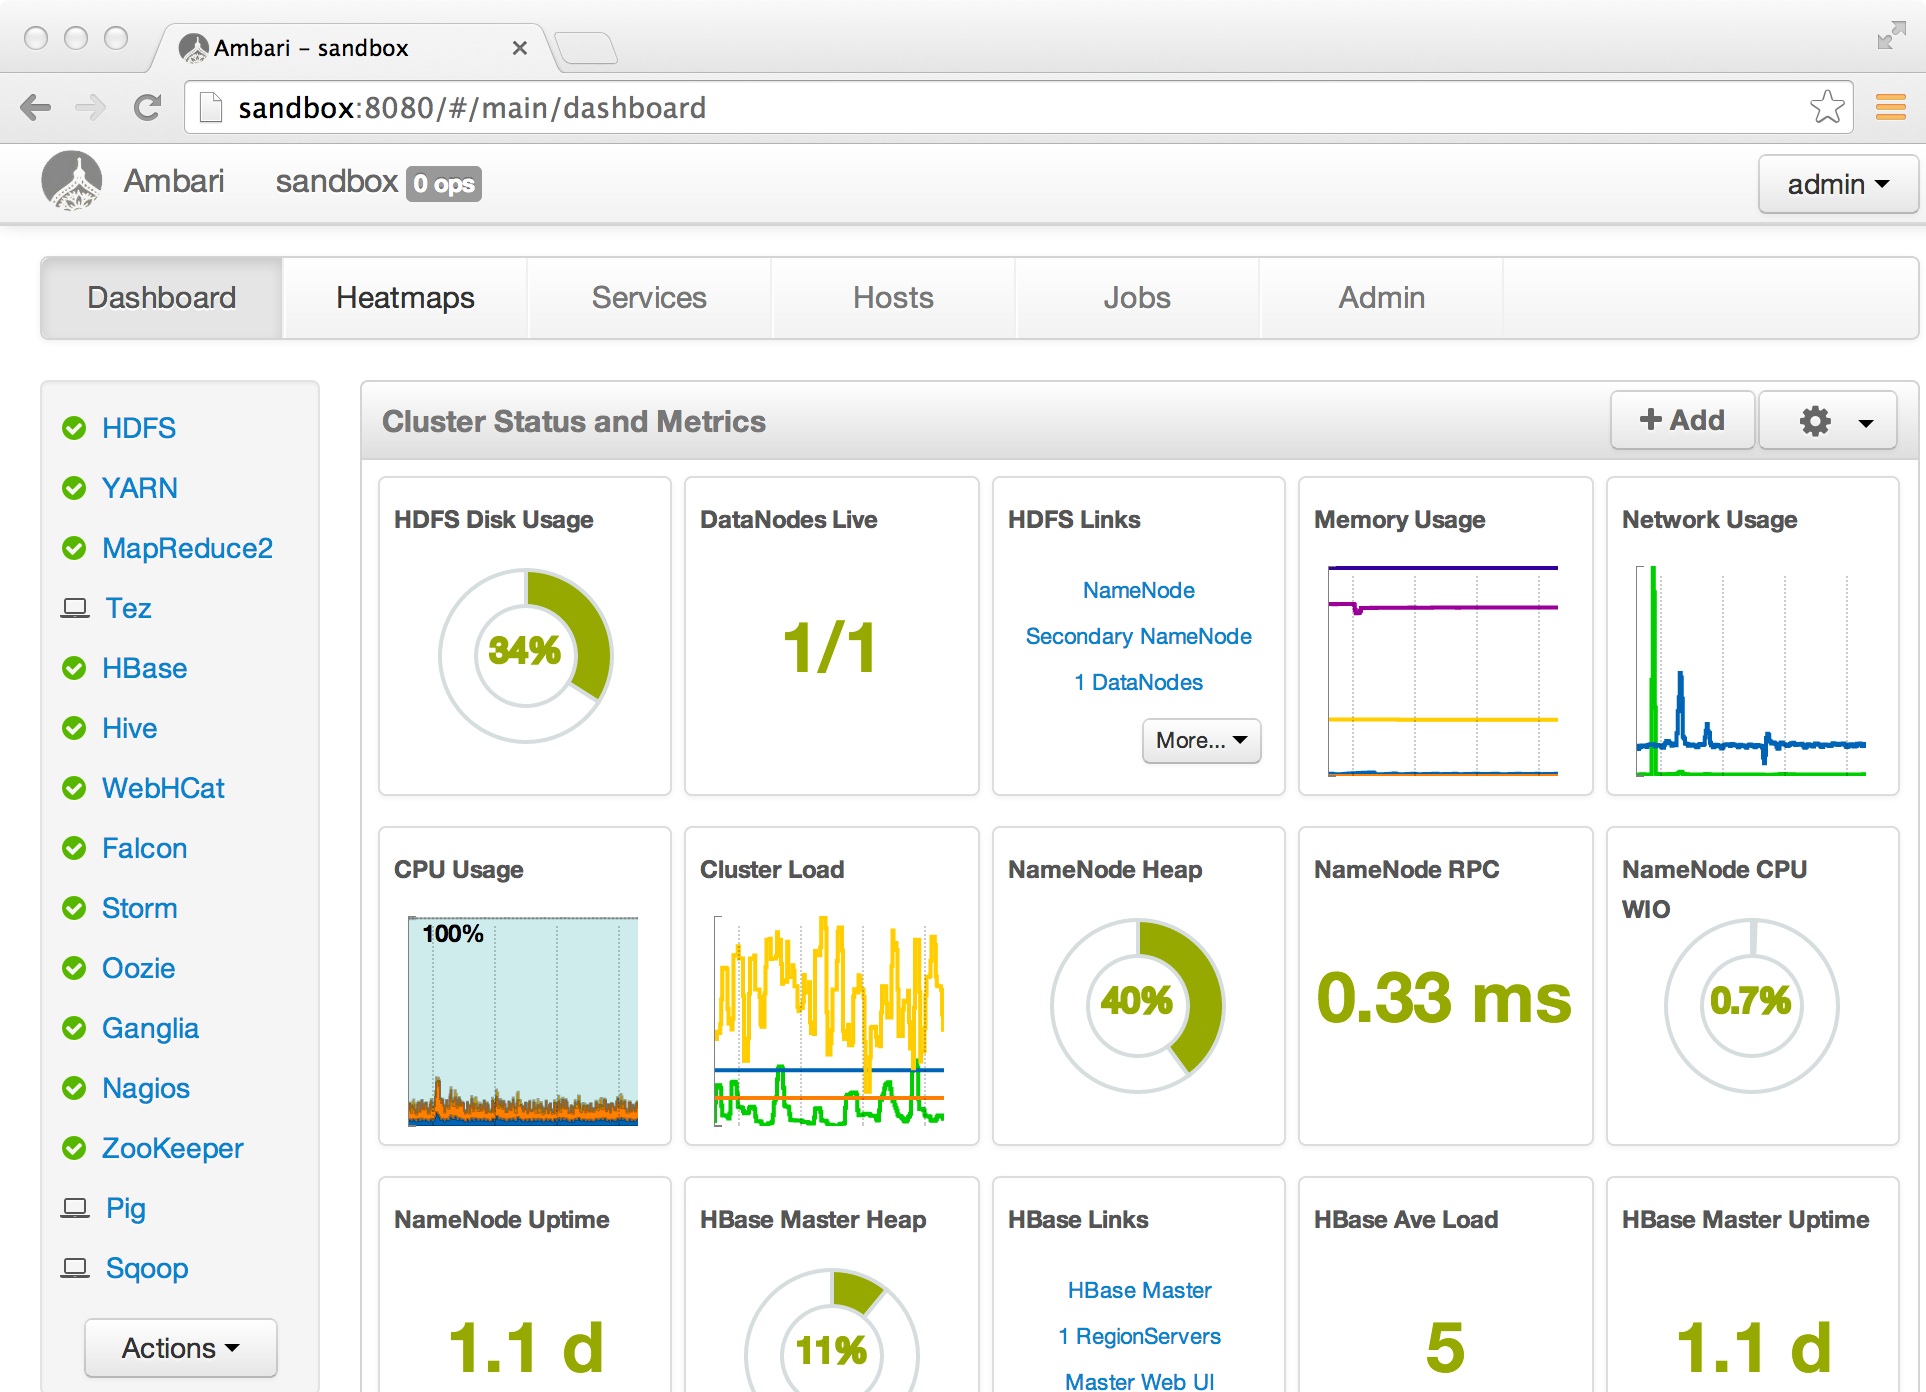
Open your browser and verify that all services are running. We will only need HDFS and MapReduce but “all lights green” is always good 

We start by creating a solr user and a folder where we are going to install the binaries:
    adduser solr
    passwd solr

    mkdir /opt/solr
    chown solr /opt/solr
Now copy the binaries you downloaded from the list of ingredients above from your host to the Sandbox from your Mac / Windows host:
    cd ~/Downloads
    scp solr-4.7.2.tar lucidworks-hadoop-1.2.0-0-0.tar solr@sandbox:/opt/solr
Next step is creating dummy data we will later on index in Solr and make searchable. As mentioned above this is “Hello World!” so better do not expect big data. The file we are going to index will be four line csv file. Type the following on your Sandbox command prompt:
echo id,text >/tmp/mydata.csv; echo 1,Hello>>/tmp/mydata.csv; echo 2,HDP >>/tmp/mydata.csv; echo 3,and >>/tmp/mydata.csv; echo 4,Solr >>/tmp/mydata.csv
Then we need to prepare HDFS:
    su - hdfs
    hadoop fs -mkdir -p /user/solr/data/csv
    hadoop fs -chown solr /user/solr
    hadoop fs -put /tmp/mydata.csv /user/solr/data/csv
Now it’s getting more interesting as we are about to install Solr:
    su - solr
    cd /opt/solr

    tar xzvf solr-4.7.2.tar
    // untar is all we need to install Solr! We still need to integrate it into HDP though.
    tar xvf lucidworks-hadoop-1.2.0-0-0.tar
    ln -s solr-4.7.2 solr
    ln -s lucidworks-hadoop-1.2.0-0-0 jobjar
Solr comes with a nice example which we will use as a starting point:
    cd solr
    cp -r example hdp
    // Remove unnecessary files:
    rm -fr hdp/examle* hdp/multicore
    // Our core (basically the index) will be called hdp1 instead of collection1
    mv hdp/solr/collection1 hdp/solr/hdp1
    // Remove the existing core
    rm hdp/solr/hdp1/core.properties
Now comes the most difficult part: Making Solr storing its data on HDFS and creating a schema for our “Hello World” csv file. We need to modify two files solrconfig.xml and schema.xml
vi hdp/solr/hdp1/conf/solrconfig.xml
Search for the tag
    <directoryFactory
    ..
    </directoryFactory>
And completely replace it with (Make sure you copy the full line. The lines may appeart truncated in the browser but when you copy/paste the full lines you’re good):
    <directoryFactory name="DirectoryFactory" class="solr.HdfsDirectoryFactory">
      <str name="solr.hdfs.home">hdfs://sandbox:8020/user/solr</str>
      <bool name="solr.hdfs.blockcache.enabled">true</bool>
      <int name="solr.hdfs.blockcache.slab.count">1</int>
      <bool name="solr.hdfs.blockcache.direct.memory.allocation">true</bool>
      <int name="solr.hdfs.blockcache.blocksperbank">16384</int>
      <bool name="solr.hdfs.blockcache.read.enabled">true</bool>
      <bool name="solr.hdfs.blockcache.write.enabled">true</bool>
      <bool name="solr.hdfs.nrtcachingdirectory.enable">true</bool>
      <int name="solr.hdfs.nrtcachingdirectory.maxmergesizemb">16</int>
      <int name="solr.hdfs.nrtcachingdirectory.maxcachedmb">192</int>
    </directoryFactory>
Now still in solrconfig.xml look for lockType. Change it to hdfs:
<lockType>hdfs</lockType>
Save the file and open schema.xml
vi hdp/solr/hdp1/conf/schema.xml
In the
<fields>
tag keep only the fields with the following names:
_version_
_root_
Leave the dynamic fields unchanged (they could be useful for your own use-cases but we will not need them in this example though).
Add the following fields:
Add the following fields:
    <field name="id" type="string" indexed="true" stored="true" required="true" multiValued="false" />
    <field name="text" multiValued="true" stored="true"  type="text_en" indexed="true"/>
    <field name="data_source" stored="false" type="text_en" indexed="true"/>
The data_source field is required by the map reduce based indexing we will use later. The fields named id and name are matching the two columns in our csv file.
Next remove all copyField tags and add:
Lets Add the id to text so we can search both
Next remove all copyField tags and add:
Lets Add the id to text so we can search both
<copyField dest="text" source="id"/>
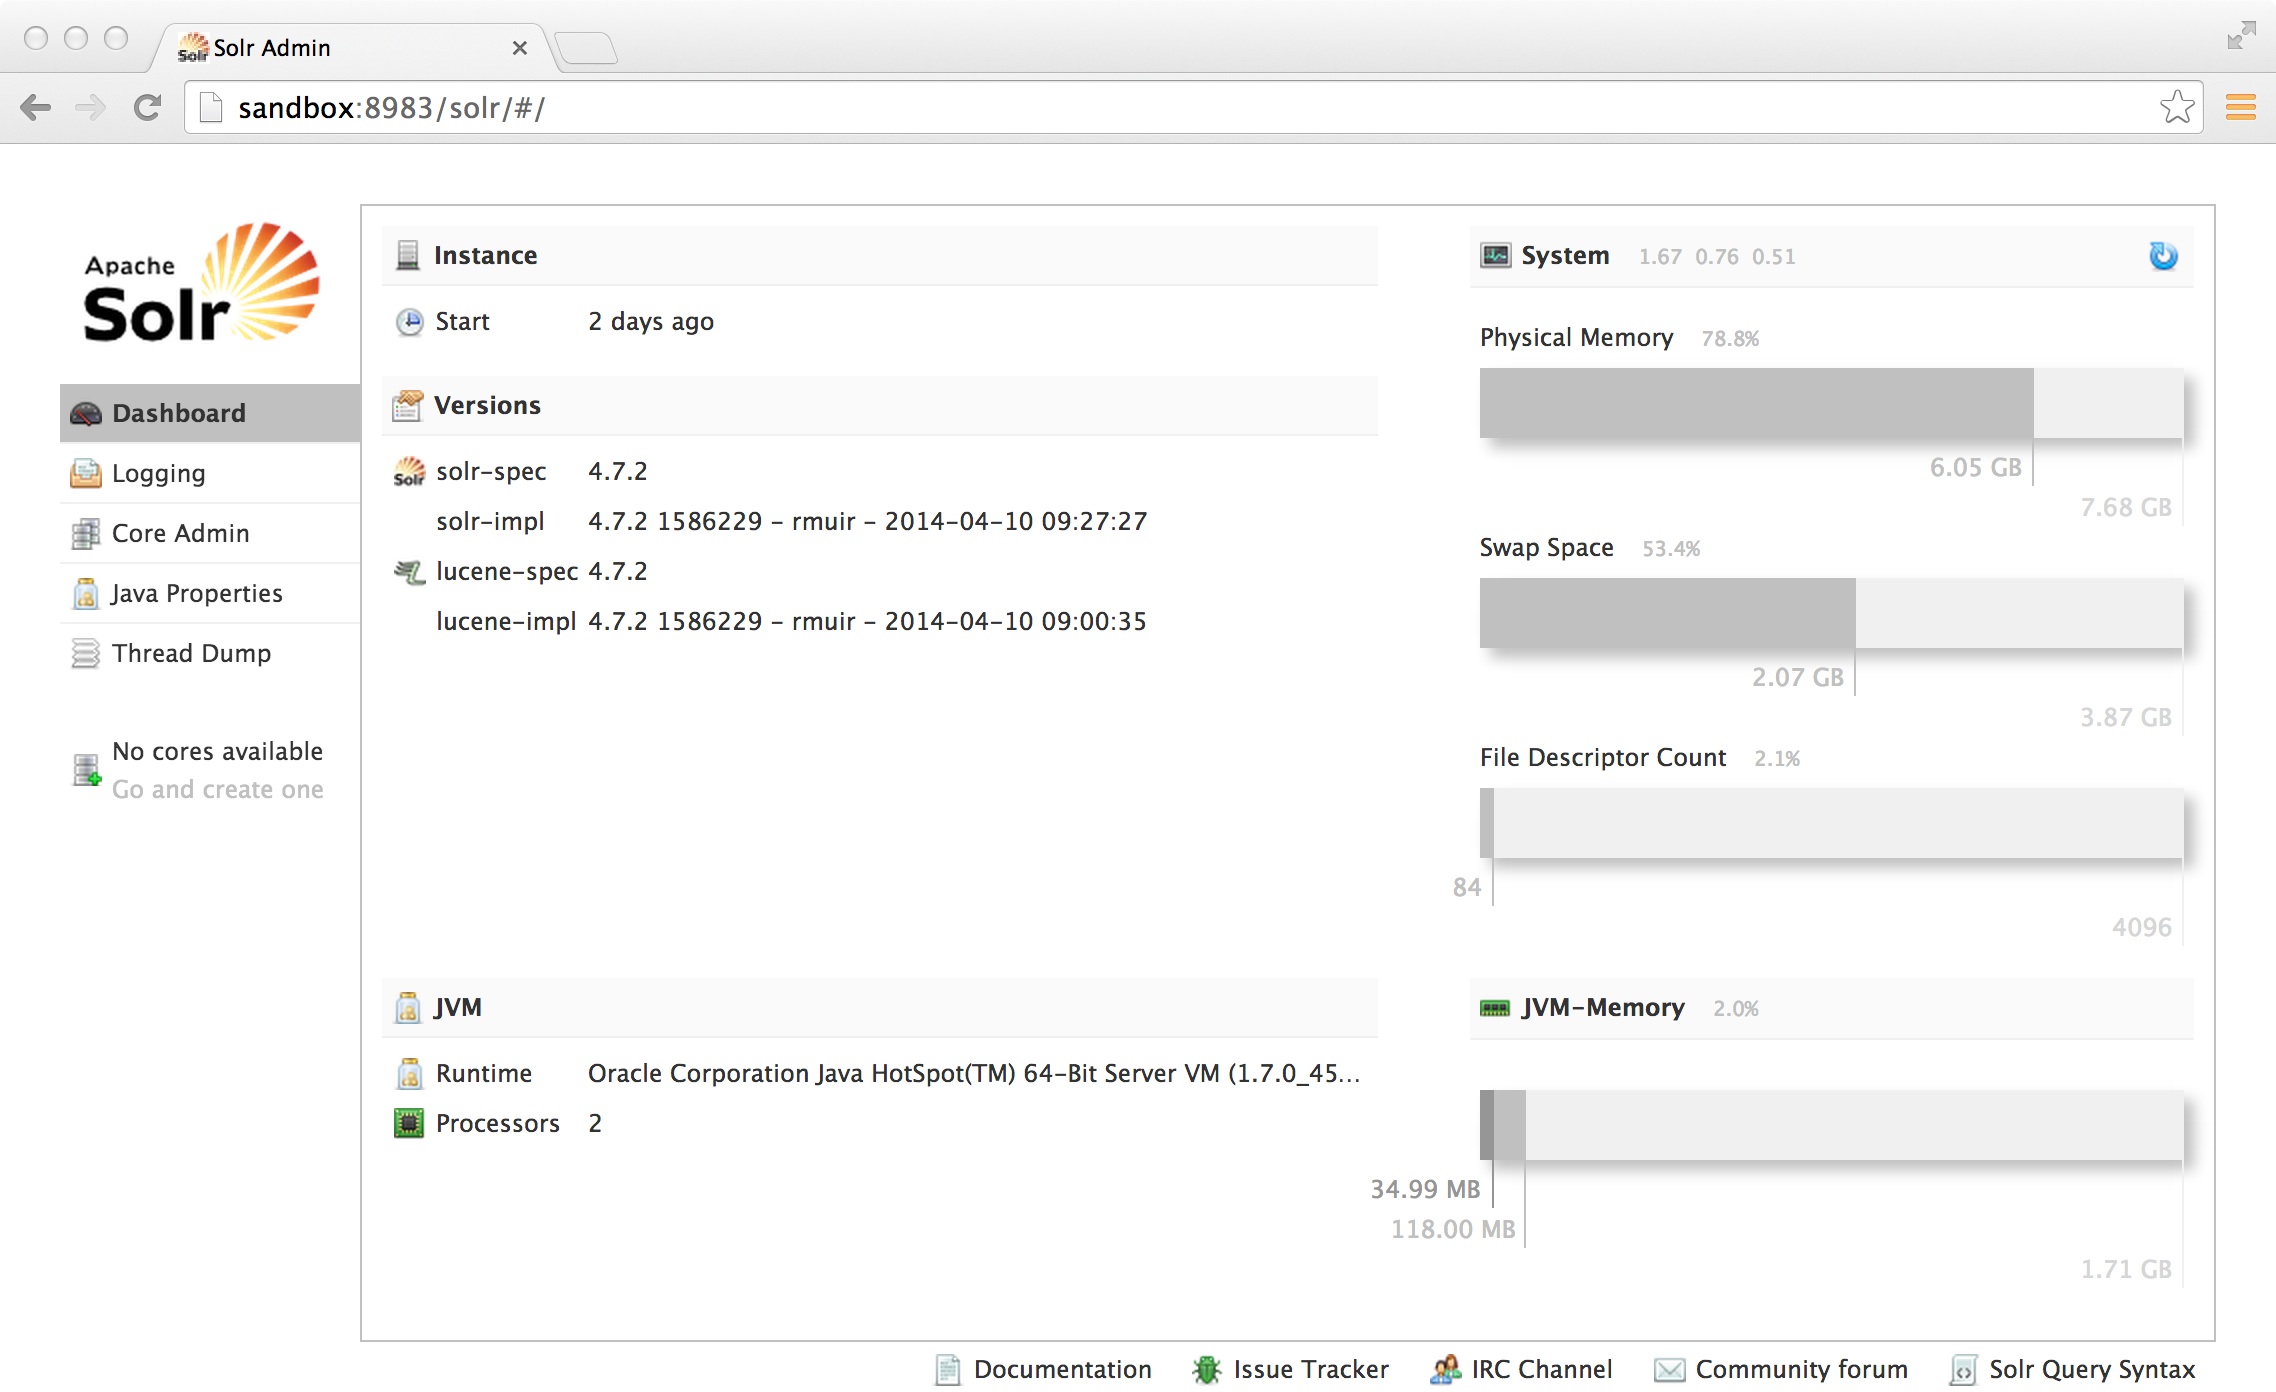
Now we need to create our core/index. Start solr and point your browser to it (http://sandbox:8983/solr):
    cd hdp
    java -jar start.jar
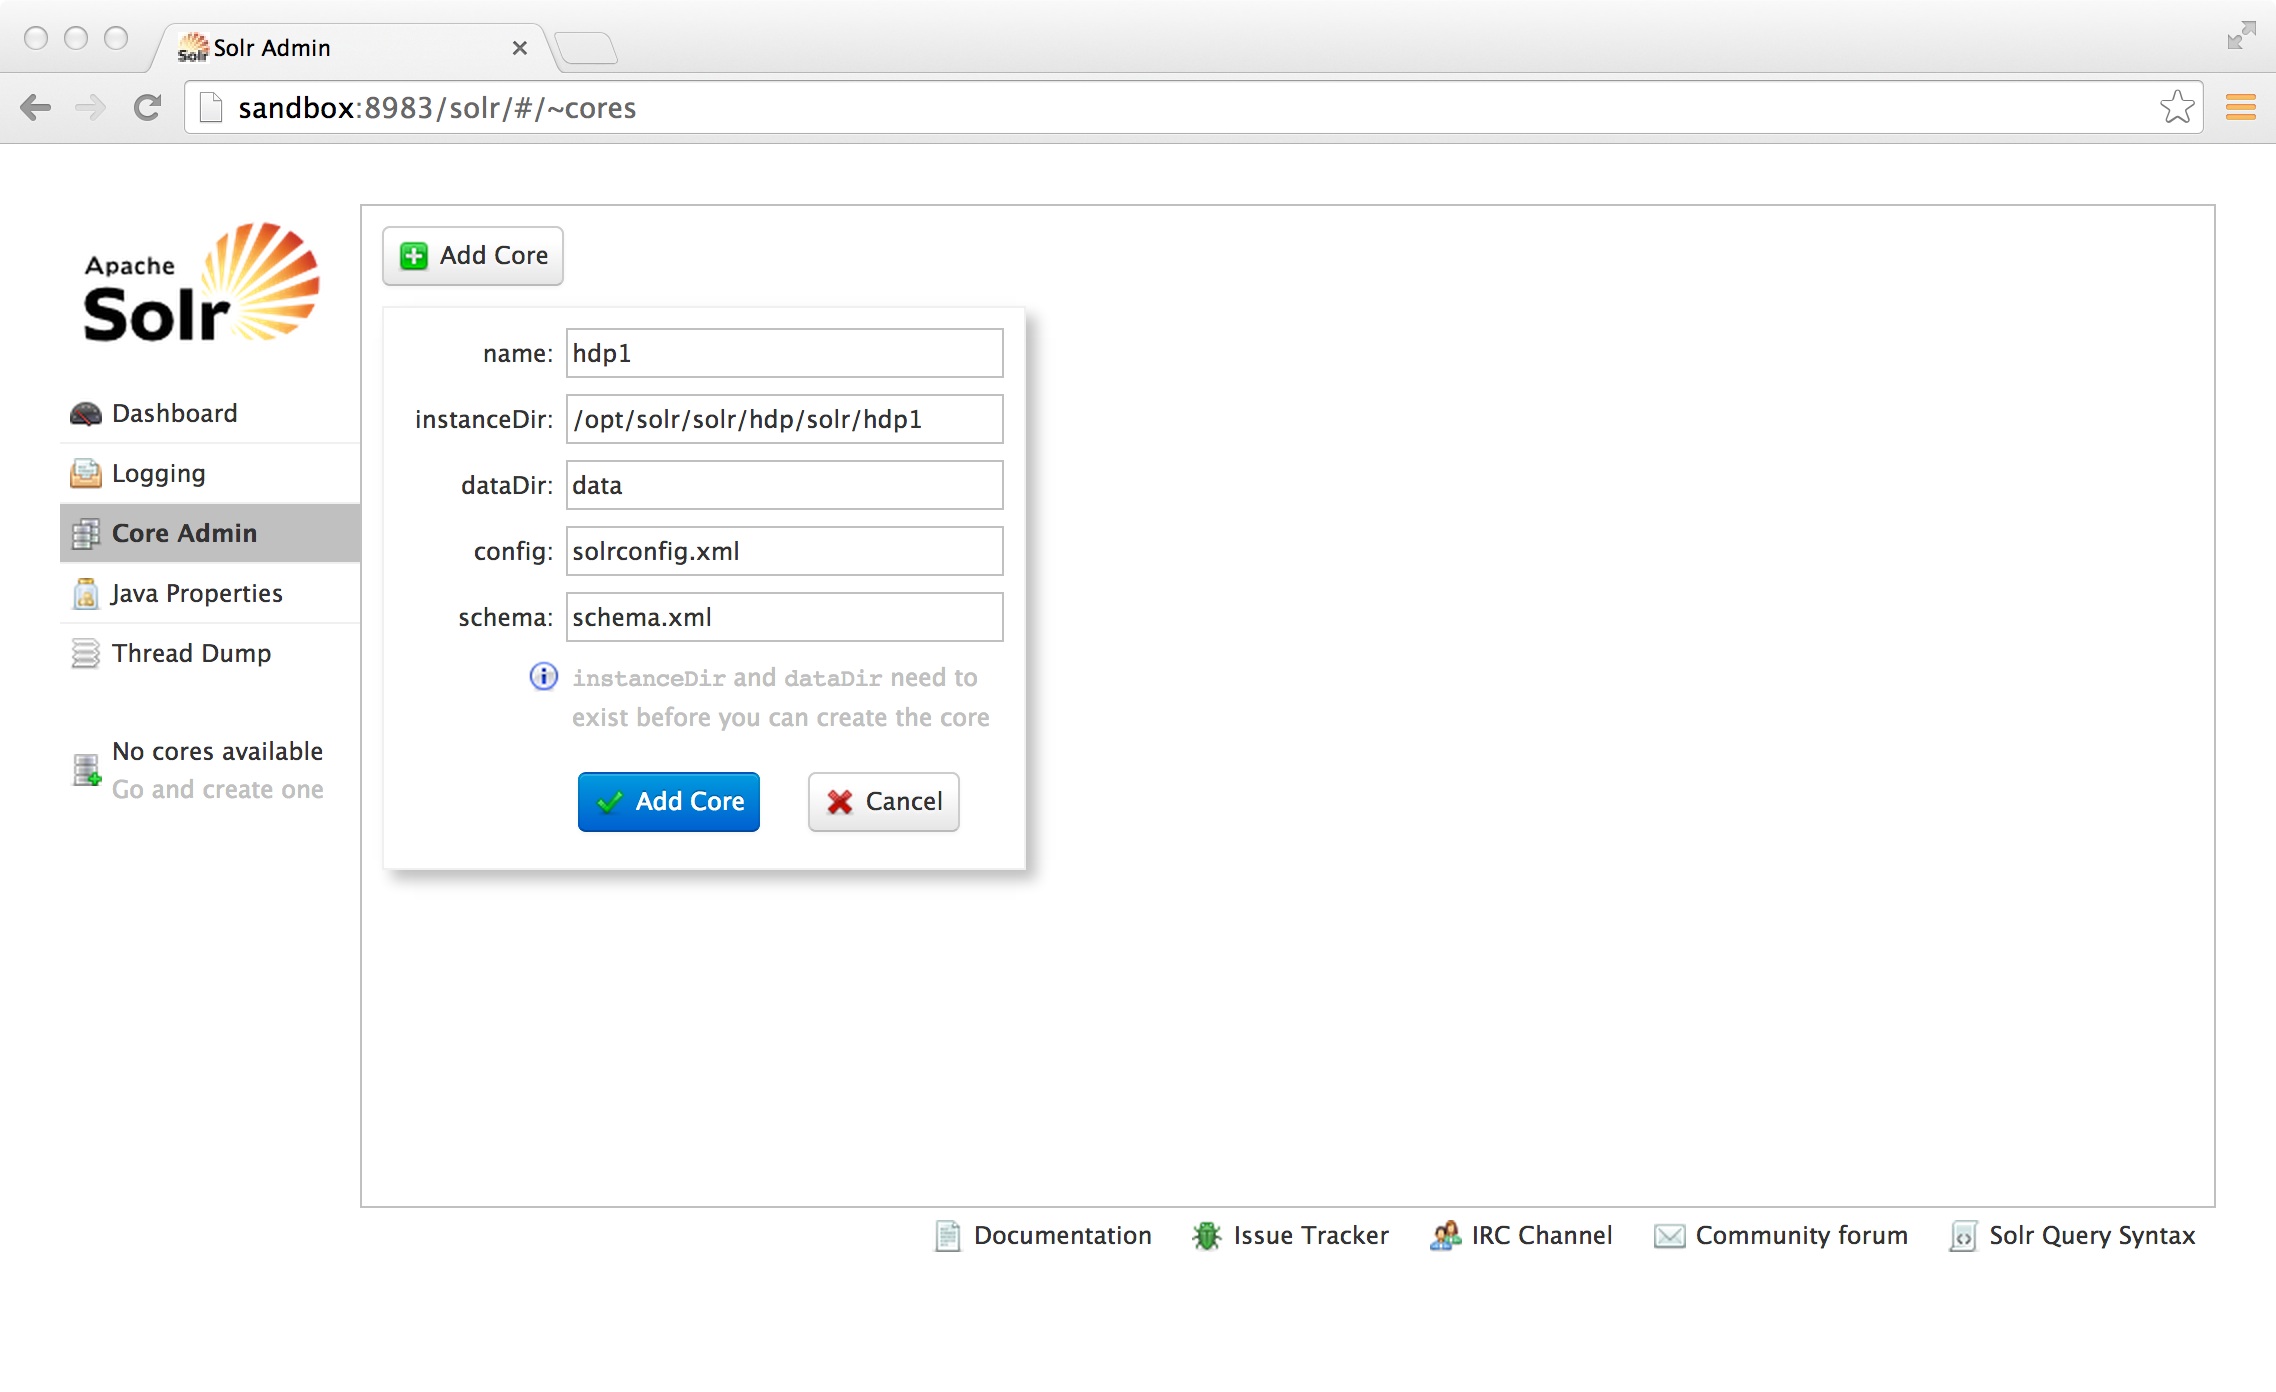
Click on “Core Admin” and fill in the fields as below:
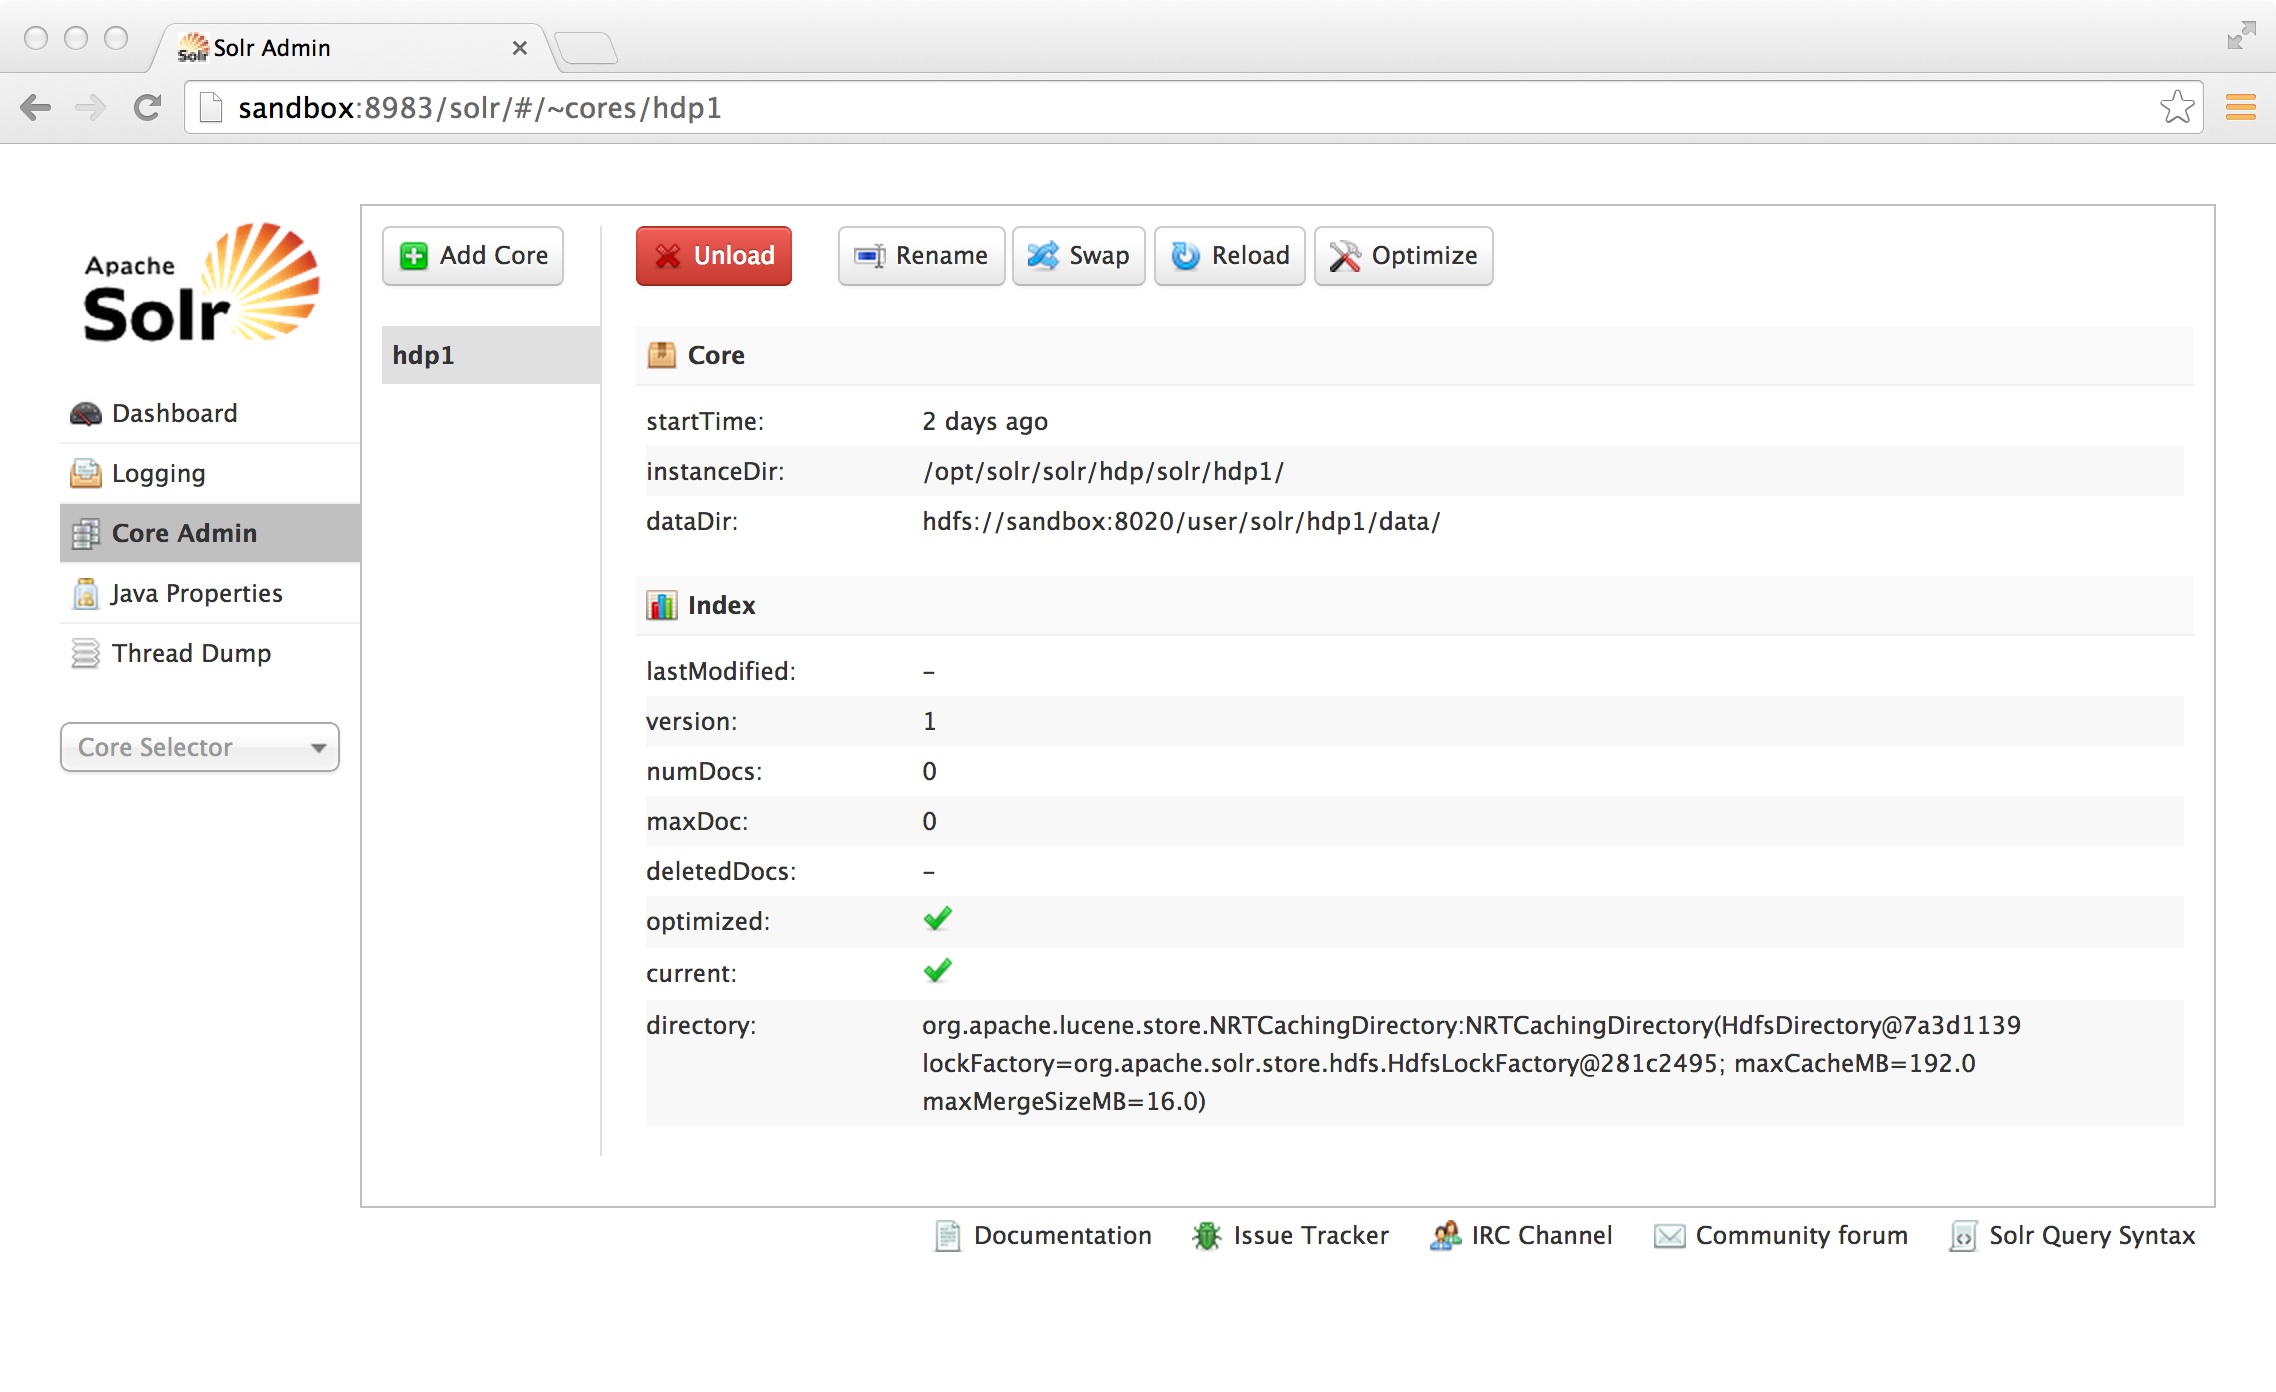
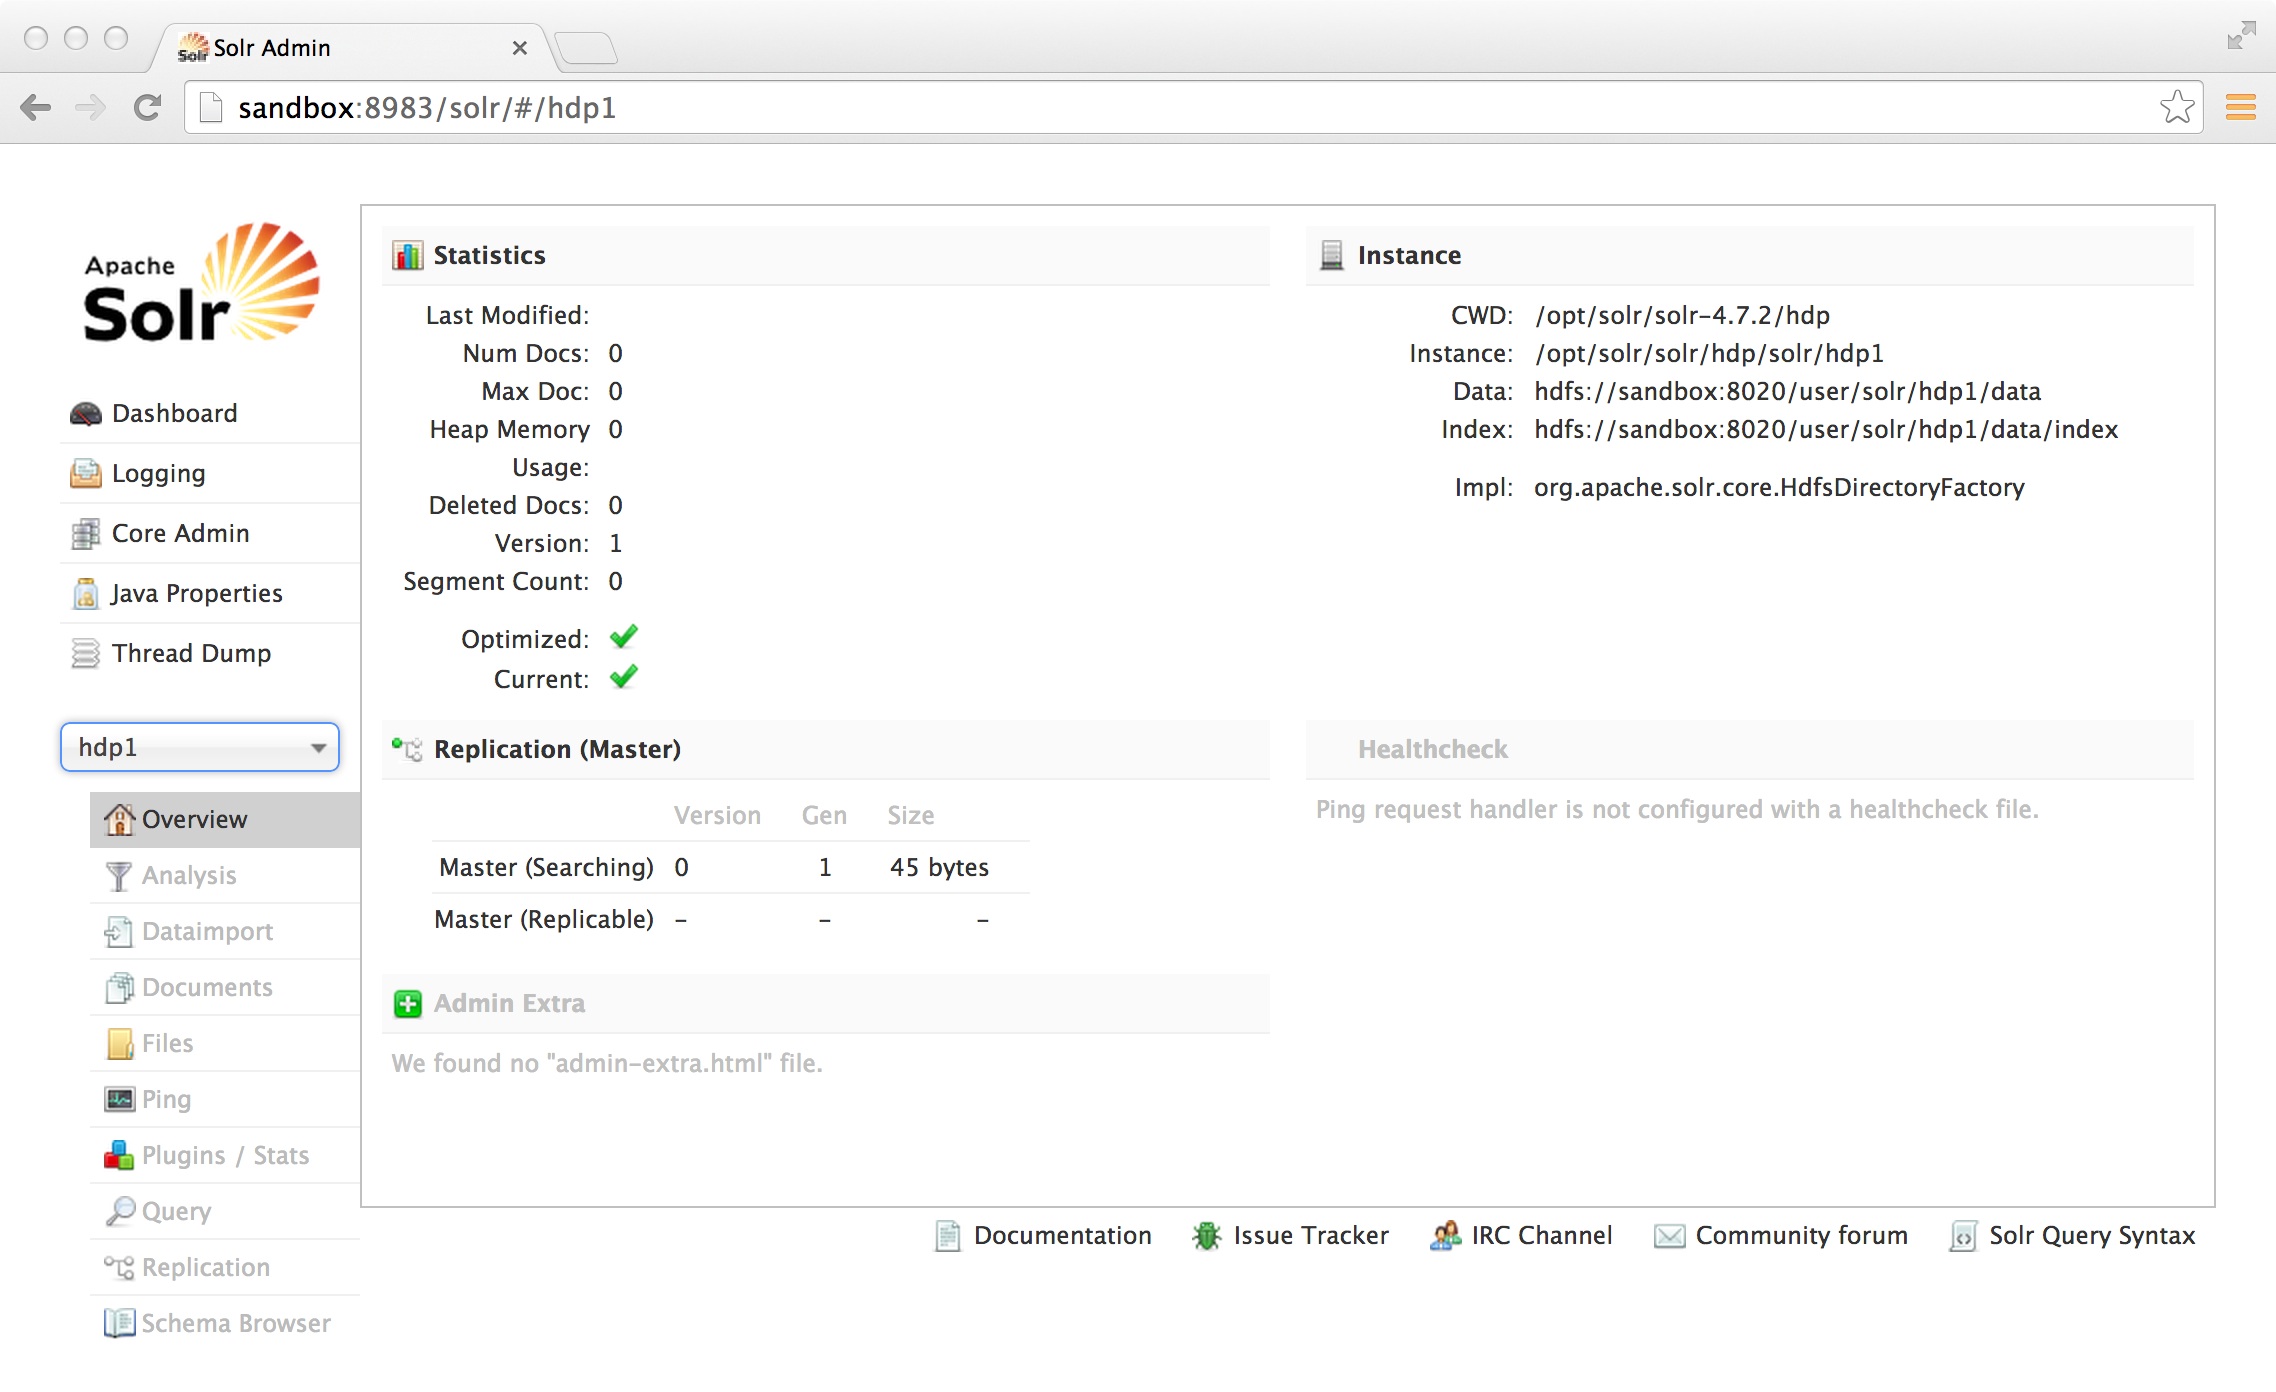
If everything goes as expected you should see the following:
If something is broken (xml file non parseable, wrong folder…) you can easily start from fresh by:
    // stop or kill solr
    rm /opt/solr/solr/hdp/solr/hdp1/core.properties
    hadoop fs -rm -r /user/solr/hdp1
    // start solr again
Now choose the just created core “hdp1” from the dropdown box on the left:

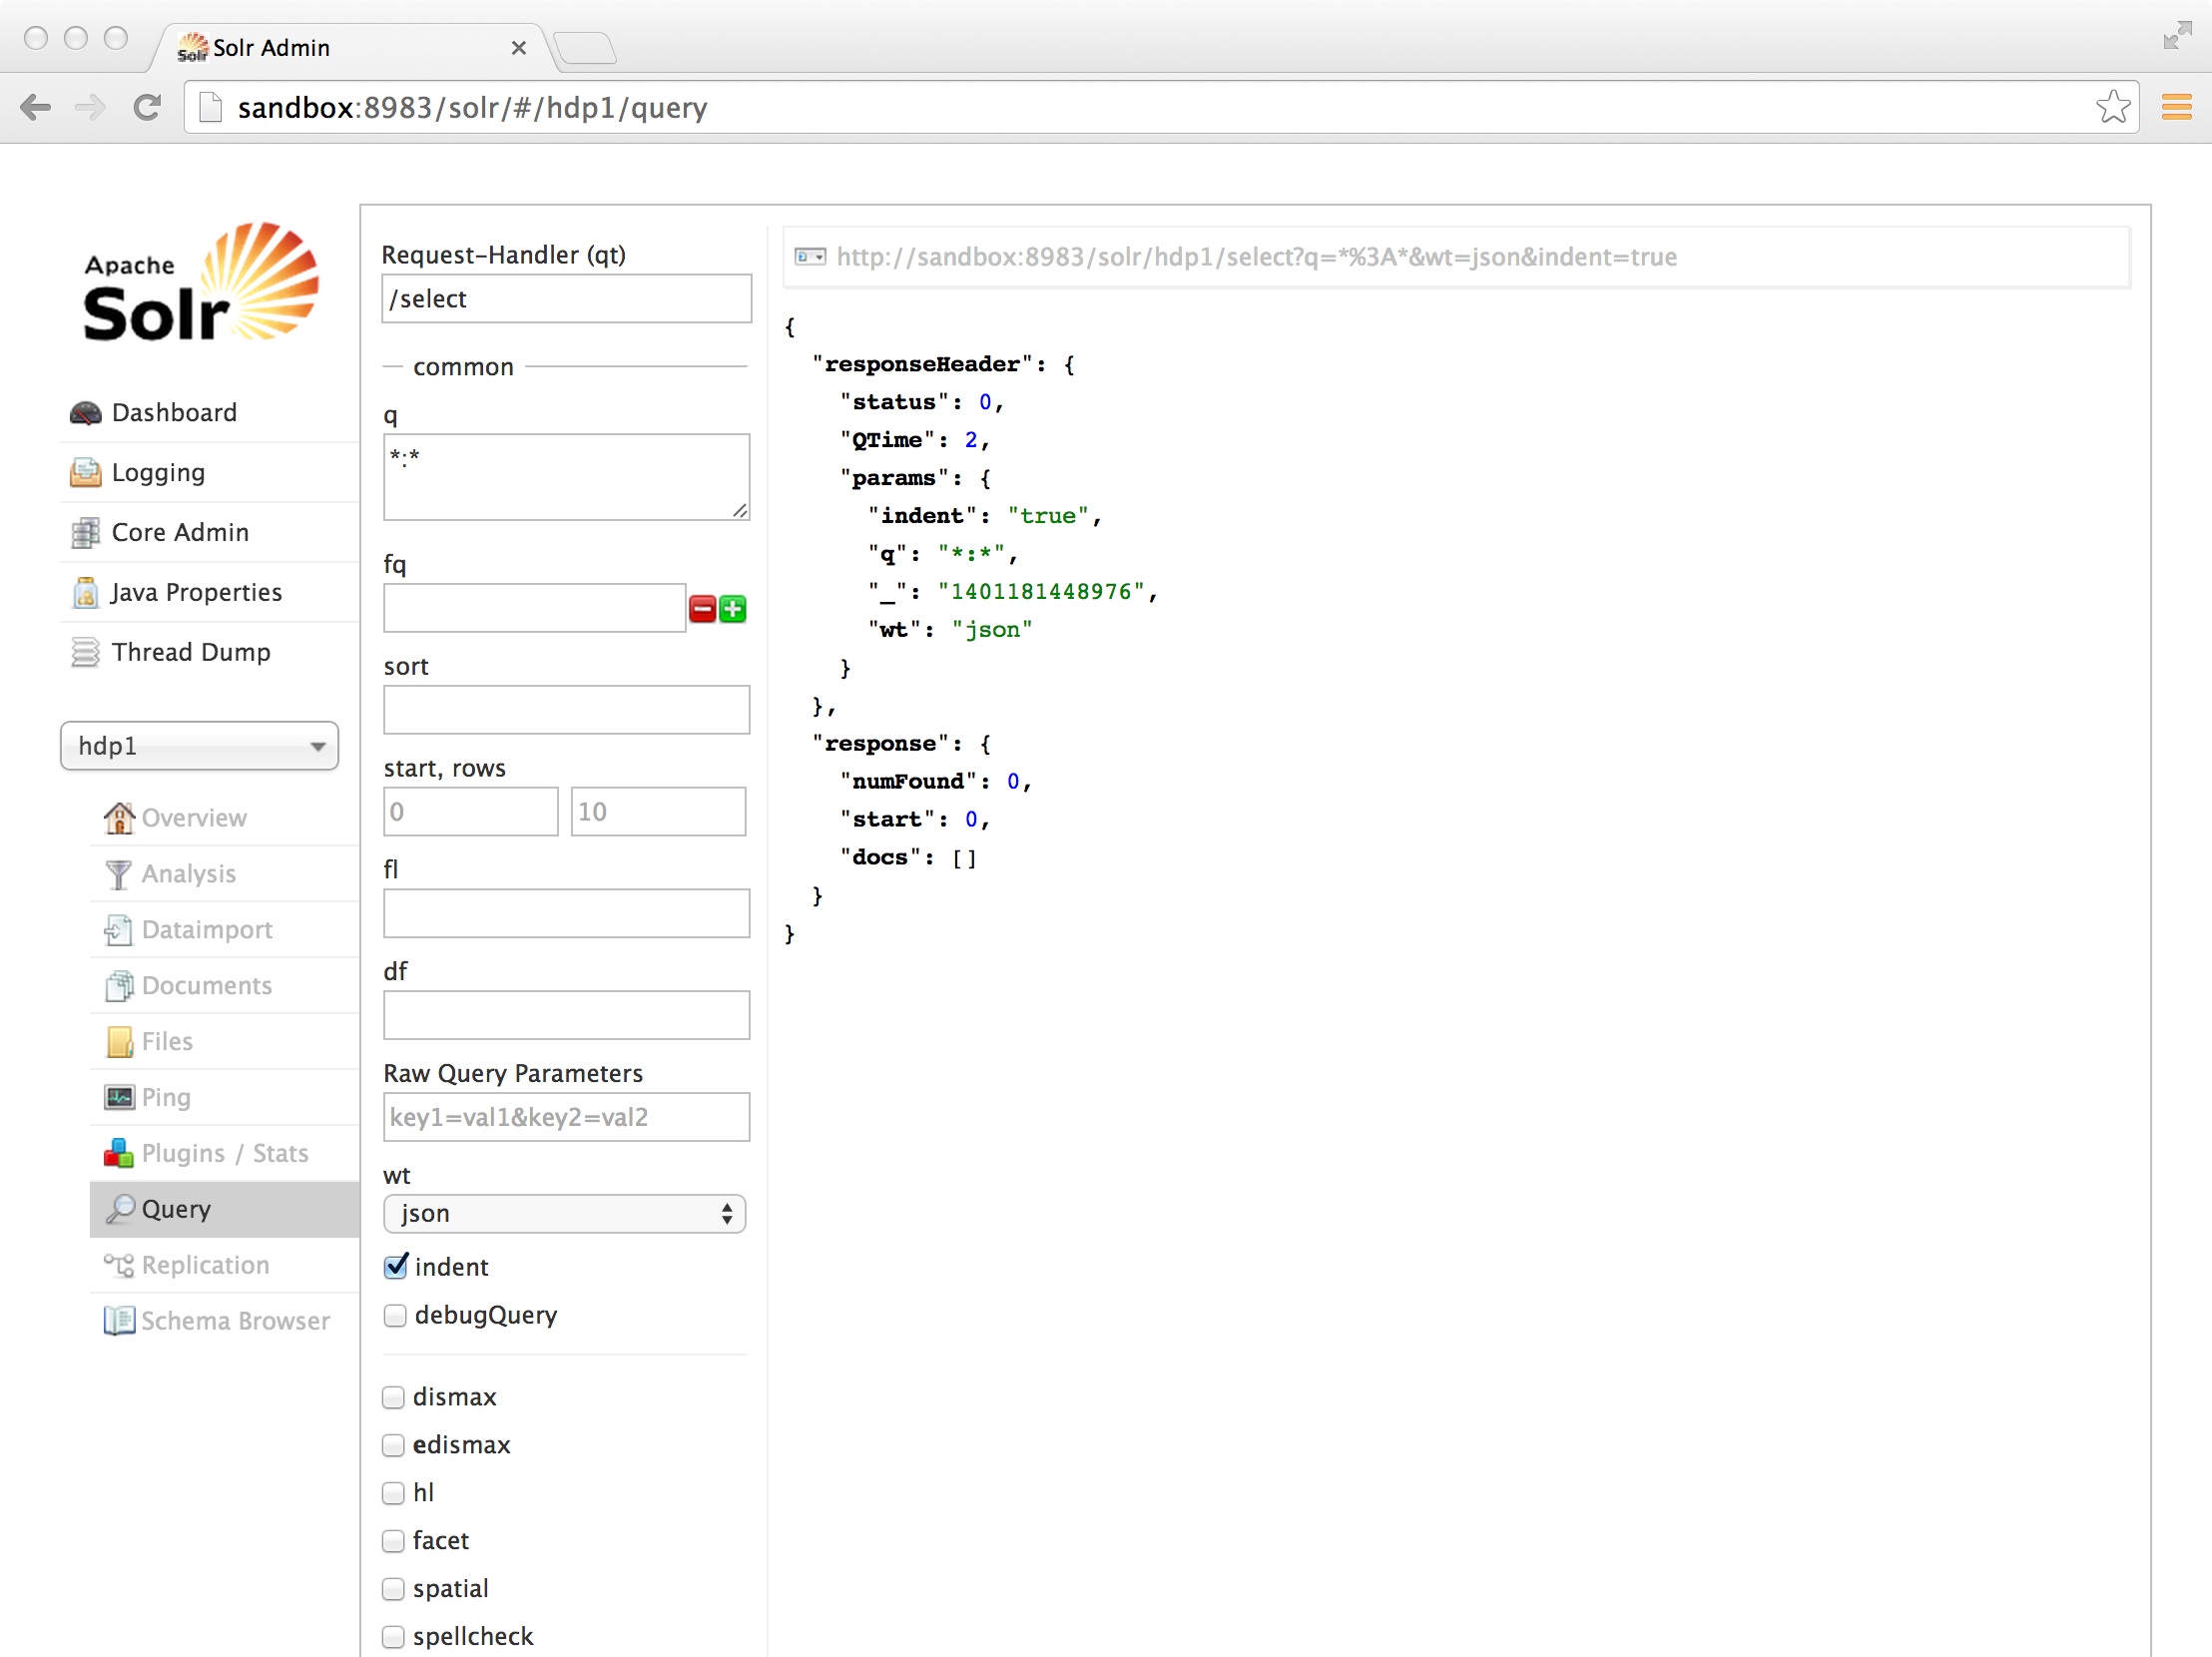
Click on Query and press the blue “Execute Query” button. You will see that we still have 0 documents in our index which is no surprise as we have not indexed anything: 
So now we are going to index our big csv file
hadoop jar jobjar/hadoop/hadoop-lws-job-1.2.0-0-0.jar com.lucidworks.hadoop.ingest.IngestJob -Dlww.commit.on.close=true -DcsvFieldMapping=0=id,1=text -cls com.lucidworks.hadoop.ingest.CSVIngestMapper -c hdp1 -i /user/solr/data/csv/mydata.csv -of com.lucidworks.hadoop.io.LWMapRedOutputFormat -s http://localhost:8983/solr
If everything went well your output should look like:
    14/05/24 06:46:00 INFO mapreduce.Job: Job job_1400841048847_0036 completed successfully
    14/05/24 06:46:00 INFO mapreduce.Job: Counters: 32
        File System Counters
            FILE: Number of bytes read=0
            FILE: Number of bytes written=201410
            FILE: Number of read operations=0
            FILE: Number of large read operations=0
            FILE: Number of write operations=0
            HDFS: Number of bytes read=287
            HDFS: Number of bytes written=0
            HDFS: Number of read operations=4
            HDFS: Number of large read operations=0
            HDFS: Number of write operations=0
        Job Counters
            Launched map tasks=2
            Data-local map tasks=2
            Total time spent by all maps in occupied slots (ms)=16727
            Total time spent by all reduces in occupied slots (ms)=0
            Total time spent by all map tasks (ms)=16727
            Total vcore-seconds taken by all map tasks=16727
            Total megabyte-seconds taken by all map tasks=4181750
        Map-Reduce Framework
            Map input records=5
            Map output records=4
            Input split bytes=234
            Spilled Records=0
            Failed Shuffles=0
            Merged Map outputs=0
            GC time elapsed (ms)=146
            CPU time spent (ms)=3300
            Physical memory (bytes) snapshot=295854080
            Virtual memory (bytes) snapshot=1794576384
            Total committed heap usage (bytes)=269484032
        com.lucidworks.hadoop.ingest.BaseHadoopIngest$Counters
            DOCS_ADDED=4
            DOCS_CONVERT_FAILED=1
        File Input Format Counters
            Bytes Read=53
        File Output Format Counters
            Bytes Written=0
Go back to your browser and enter “HDP” in the field called “q” and press “Execute Query”:

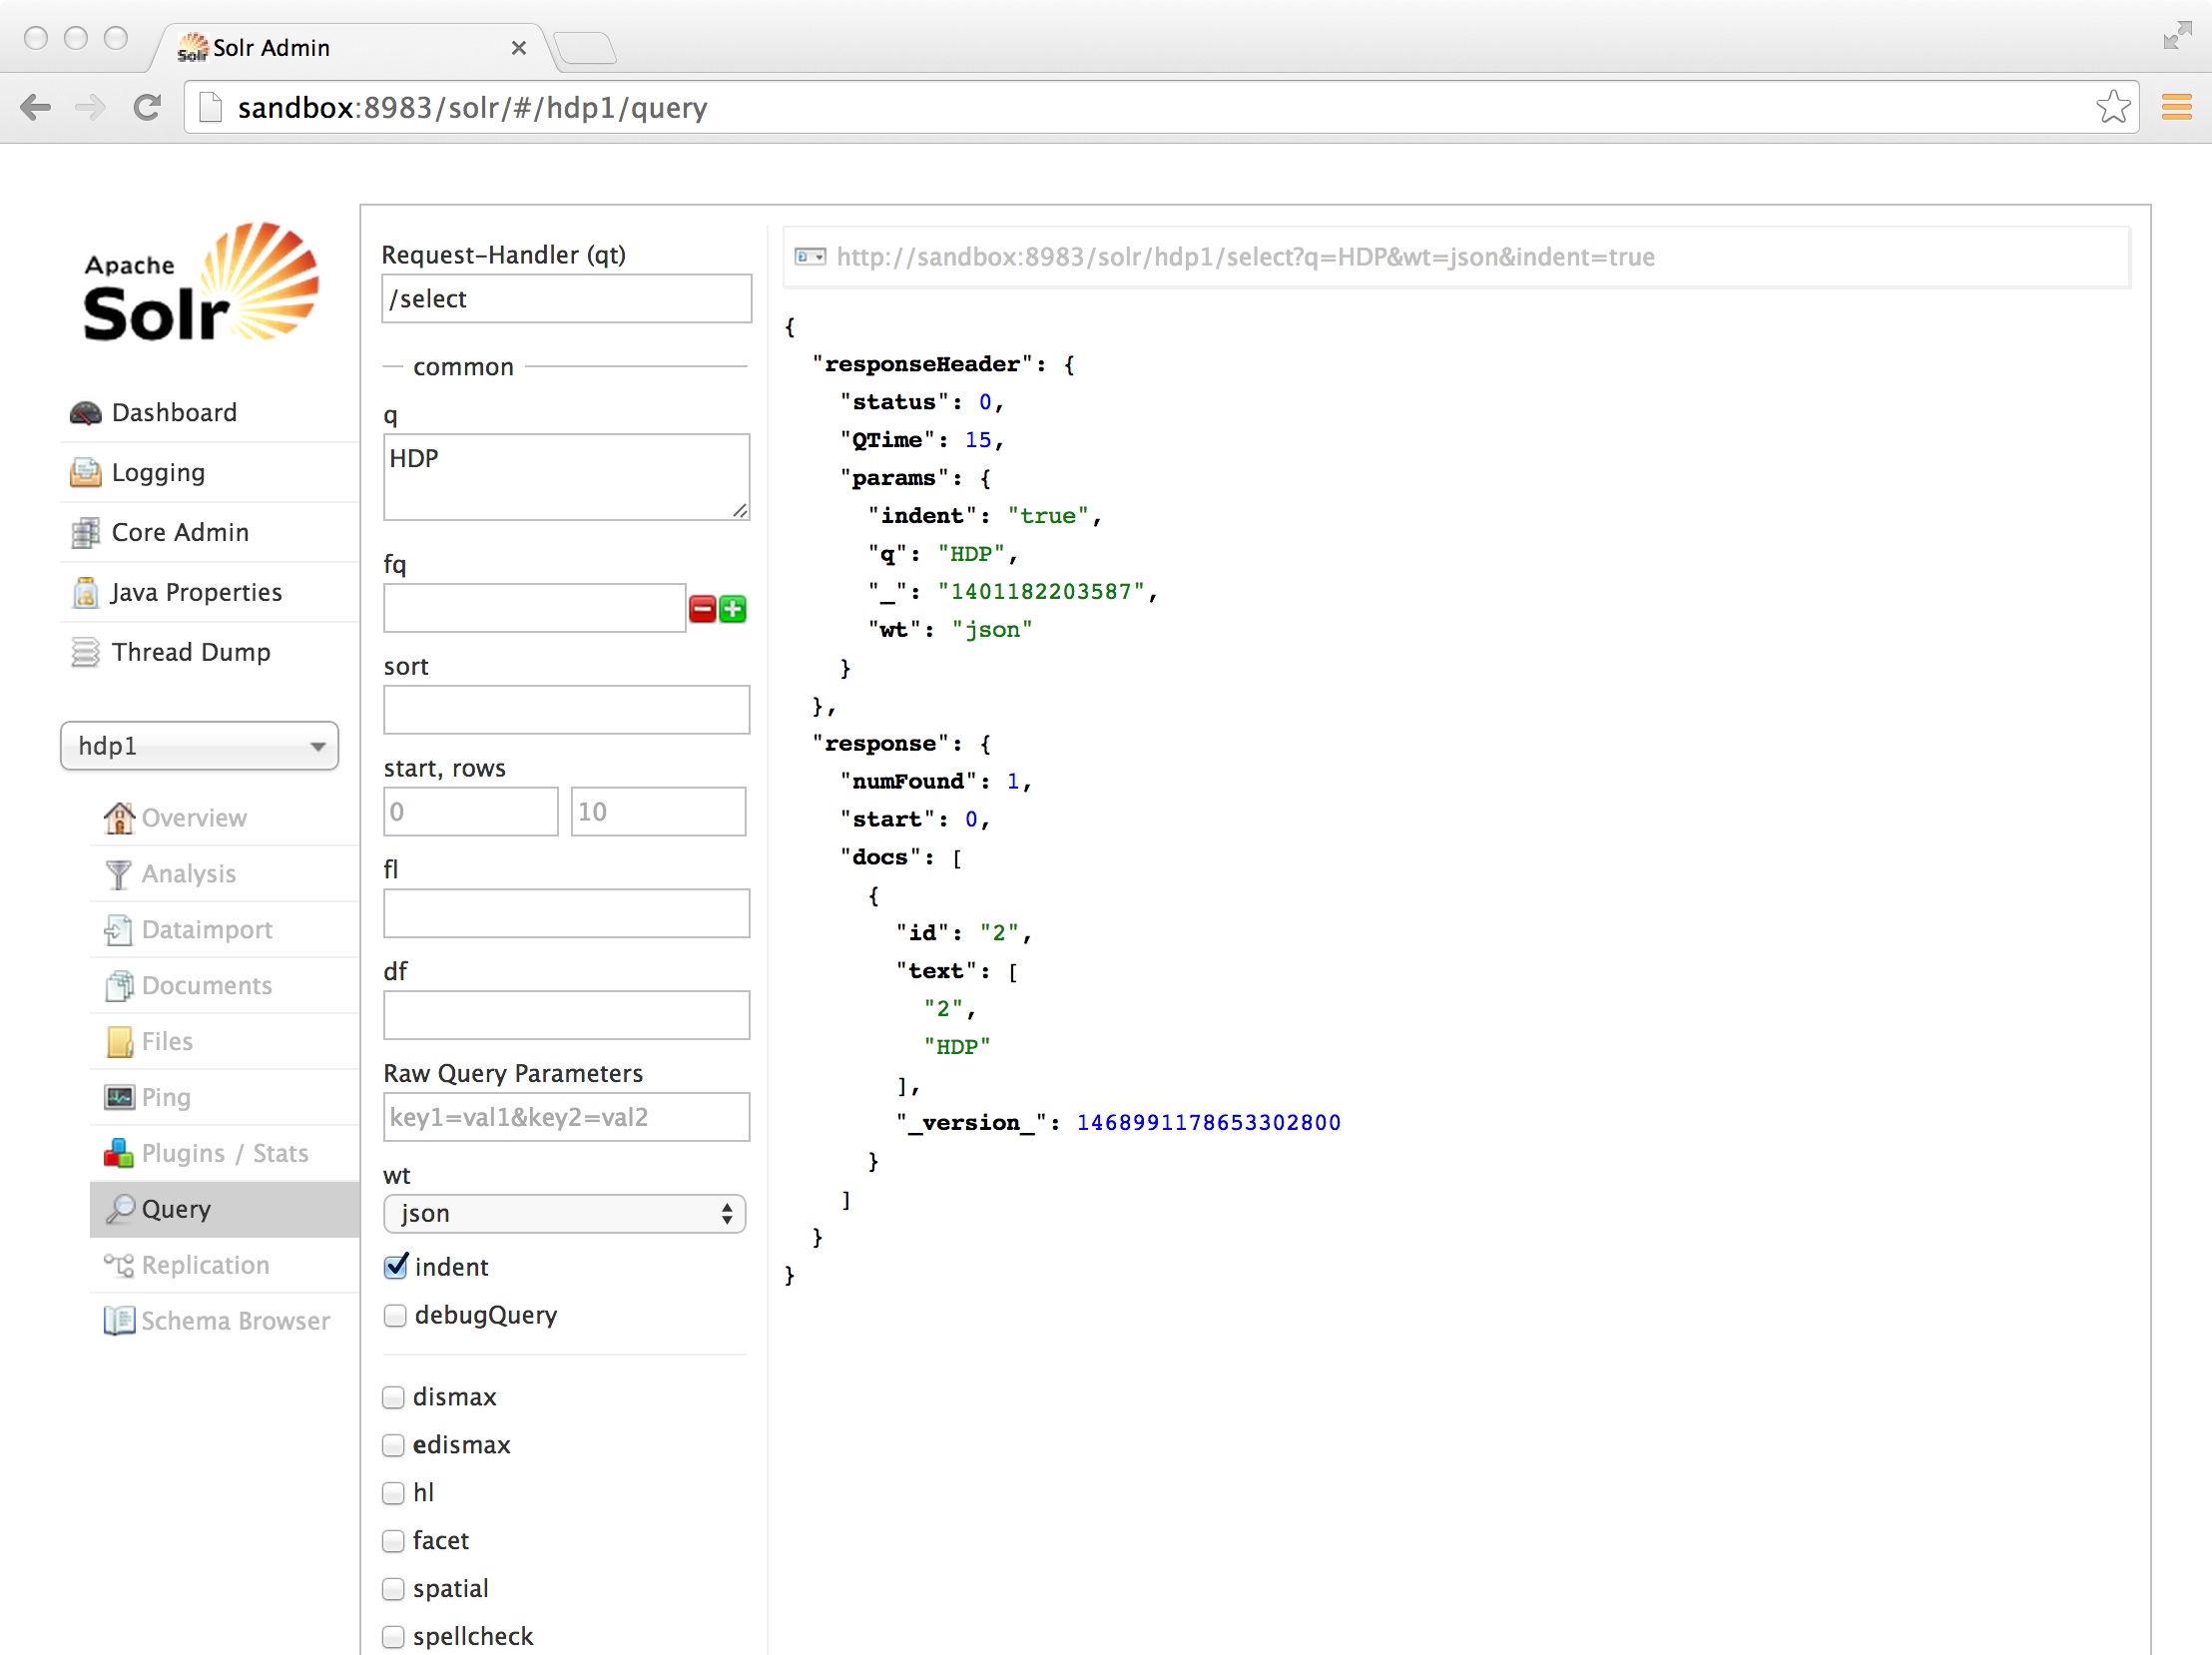
Congratulations!!!
You installed and integrated Solr on HDP. Indexed a csv file through map reduce and successfully executed a Solr query against the index!
Next steps are now installing Solr in SolrCloud mode on an HDP cluster, index real files and create a nice web app so that business users can easily search for information stored on Hadoop.
I hope this was useful and you had fun!
I hope this was useful and you had fun!
No comments:
Post a Comment